
A forever fun dessert, Meringue!
The pavlova or any kind of meringue I make or even come across will always remind me of my dear friend, Eleanor. The very first meringue I had was of Els’ making and I got hooked on the spot. I still don’t understand how it didn’t happen earlier but for the sake of my waistline I’m low-key glad it didn’t. Of course when we lived in Australia (the undisputed home of the Pav!) I had my fill. Oh did I have my fill! Mmmmm….
An easy favourite, the meringue is equal parts light, sweet, gooey and decadent. The contrast between the hard exterior and the spongy interior will always leave me chewing with my eyes wide open no matter how many times I have a bite and no matter how unsurprised I should be.
One of the best things that happened in my meringue journey was one day scrolling around Pinterest and finding mini-meringues. Like, I don’t need to cut it or worry about portions. I can simply have one to myself! Complete with my own toppings and best of all, it can fill up my tiny saucer and make me feel like the dessert was made specially for me. Seriously, what’s not to love!
While I’ve tried all kinds of iterations, from almond meringue shells to chocolate and even lemon, I find that the classic is always the one I go back to. Simplicity has always been something I’ve lived by. Why complicate things when all I need is egg whites and sugar? So here we go with the classic plain pavlova…. But the party is on top! With the toppings!!!
Prep Time: 15 mins
Cook/ Bake Time: 2 hours
Meringue Shells
Ingredients:
8 large egg whites
2 cups granulated sugar
Instructions:
Preheat the oven to 225 degrees F (107C)
Line 2 large baking sheets with parchment paper and lightly trace three 5-inch circles with a pencil on each one using a light pencil or the back of a table knife
In a very clean dry mixer bowl, pour the egg whites and beat on low speed with the whisk attachment until the egg whites are foamy
Increase the speed to medium and pour in the sugar gradually
Beat egg white/ sugar mixture until it forms stiff peaks when suspended. Be careful not to overbeat, so check regularly. And voila! Your meringue is (kinda) ready!
Using a rubber spatula, gently transfer the meringue to a clean dry pastry piping bag and use the piping tip of choice. I used the star tip in the photos
Starting at the centre of each traced circle, pipe a circle of meringue and add concentric layers to the sides, to form a hollow in the middle.
Place the baking sheets in the oven and bake for 90 minutes.
After 90 minutes, turn off the oven and leave the meringues in there for another 30 minutes
When the time is up, gently peel the meringues off the paper, cool completely and store in an airtight container if not topping and eating immediately
P.S meringue shells can be frozen if they won’t be used in 3 to 4 days.


Whipped cream & Topping
Ingredients:
2 cups heavy cream (cold)
1 cup powdered sugar
1 tsp vanilla extract
Berries of choice
100g dark chocolate
Instructions:
Chill your mixing bowl (glass or metal preferred) in the refrigerator for at least 20 minutes
Add whipping cream, powdered sugar and vanilla extract to the chilled bowl of a standing mixer (or chilled mixing bowl).
Use the wire whisk attachment to a standing mixer, or a hand-held mixer, and beat the ingredients together, starting on low speed and increasing to high slowly as the cream begins to firm up.
Beat for 60-90 seconds until stiff peaks form, stopping once halfway through to scrape down the sides of the bowl.
Transfer mixture to a piping bag and pipe into the hollow of the meringue shells
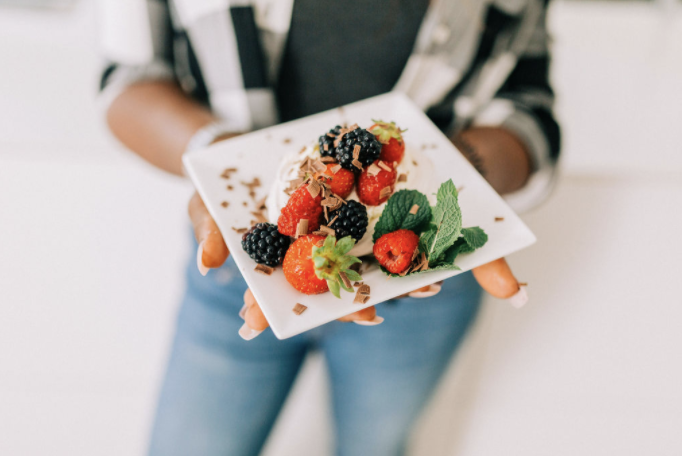
Top with cut berries
Shave chocolate on the top of your dessert and serve immediately